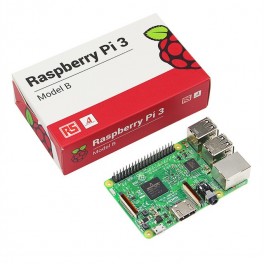
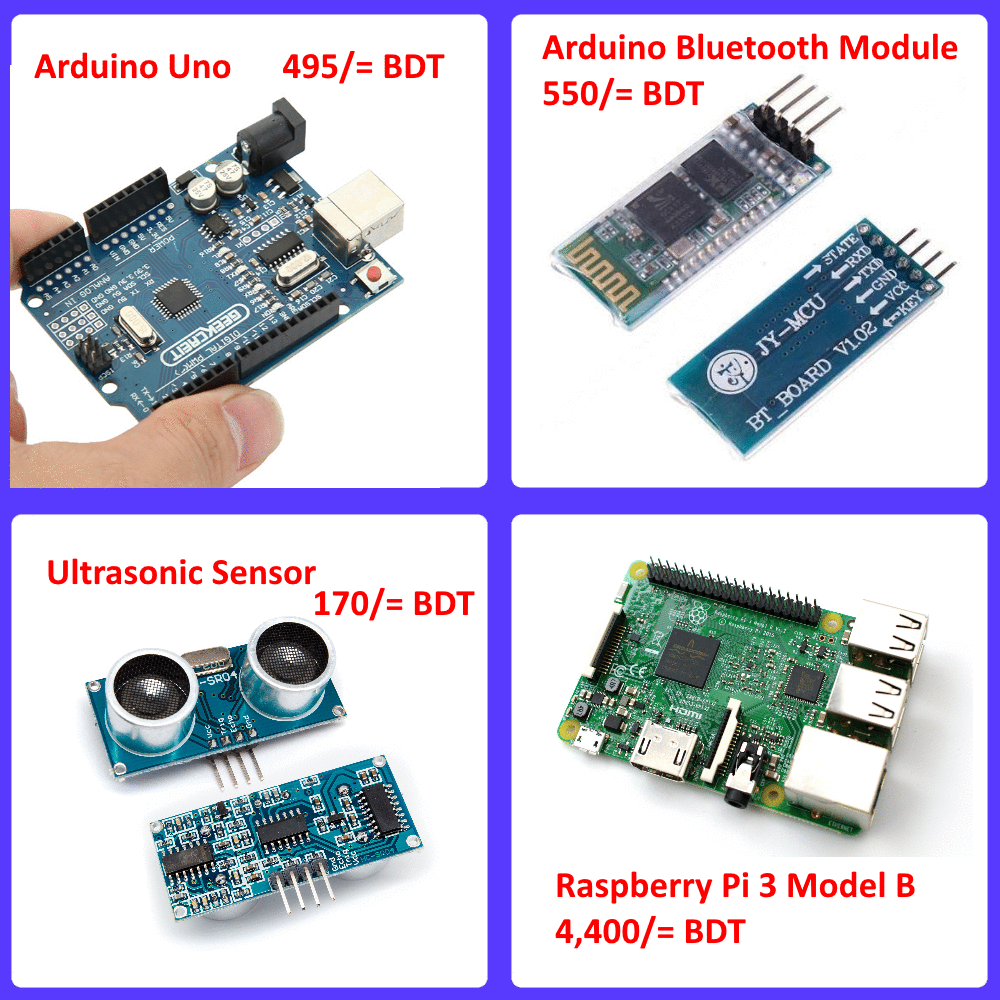
কিভাবে রাস্পবেরি পাই ৩ সেট করতে হয়?
রাস্পবেরি পাই বুট করে মেমরি কার্ড থেকে। একটি ৮ থেকে ৩২ জিবি (ক্লাস ১০) (ভালো ব্রান্ডের) মেমরি কার্ড লাগবে বুট করতে।ডিসি ৫ভোল্ট-২.১এ(মেক্স) পাওয়ার এডাপটার লাগবে। একটি ভালো মানের পাওয়ার এডাপটার লাগবে নয়তো রাস্পবেরি পাই বুট হবে না। উপরের লিংক থেকে OS ডাউনলোড করে Win32DiskImager সফটওয়্যার দিয়ে ডাউনলোডকৃত IMG ফাইল টি মেমরি কার্ডে write করতে হবে। এরপর মেমরি কার্ড রাস্পবেরি পাই এ লাগতে হবে। পাওয়ার এডাপটার দিয়ে পাওয়ার দিতে হবে যদি HDMI মনিটর না থাকে তাহলে নরমাল VGA মনিটর এ HDMI To VGA কনভার্টার Use করতে হবে।
Description: Everyone knows and loves Raspberry Pi, but what if you didn’t
need additional peripherals to make it wireless. The Raspberry Pi 3 is here
to provide you with the same Pi as before but now with double the ram and a
much faster processor. The credit-card sized computer is capable of many of
the things that your desktop PC does, like spreadsheets, word-processing and
playing high-definition video and games. It can run several flavors of Linux
(and even Windows 10 free-of-charge) and is being used to teach kids all over
the world how to program… Oh yeah, and it still does all that for about $40.
The secret sauce that makes this computer so small and powerful is the Broa-
dcom BCM2837, an ARM Cortex-A53 64bit Quad Core Processor System-on-Chip.
The GPU provides Open GL ES 2.0, hardware-accelerated OpenVG, and 1080p30
H.264 high-profile decode and is capable of 1Gpixel/s, 1.5Gtexel/s or 24 GFLOPs of
general purpose compute. What’s that all mean? It means that if you plug the
Raspberry Pi 3 into your HDTV, you could watch BluRay quality video, using
H.264 at 40MBits/s.
The biggest change that has been enacted with the Raspberry Pi 3 is an upgrade
to a next generation main processor and improved connectivity with Bluetooth
Low Energy (BLE) and BCM43143 WiFi on board. Additionally, the Raspberry Pi 3
has improved power management, with an upgraded switched power source up to
2.5 Amps, to support more powerful external USB devices.
The Raspberry Pi 3’s four built-in USB ports provide enough connectivity for
a mouse, keyboard, or anything else that you feel the RPi needs, but if you
want to add even more you can still use a USB hub. Keep in mind, it is
recommended that you use a powered hub so as not to overtax the on-board
voltage regulator. Powering the Raspberry Pi 3 is easy, just plug any USB
power supply into the micro-USB port. There’s no power button so the Pi will
begin to boot as soon as power is applied, to turn it off, simply shut down
the Pi 3, then remove power. The four built-in USB ports can even output up
to 1.2A enabling you to connect more power hungry USB devices (This does
require a 2Amp micro USB Power Supply).
On top of all that, the low-level peripherals on the Pi make it great for
hardware hacking. The 0.1" spaced 40-pin GPIO header on the Pi gives you
access to 27 GPIO, UART, I2C, SPI as well as 3.3 and 5V sources. Each pin
on the GPIO header is identical to its predecessor the Model B+.
Note: You will need the latest version of NOOBS for the Raspberry Pi 3.
If this action is not completed your Pi will get stuck on a rainbow square
boot screen. You can find the latest version of NOOBS here!
Features:
- Broadcom BCM2837 64bit ARM Cortex-A53 Quad Core Processor SoC running @ 1.2GHz
- 1 GB RAM
- 4 x USB2.0 Ports with up to 1.2A output
- Expanded 40-pin GPIO Header
- Video/Audio Out via 4-pole 3.5mm connector, HDMI, CSI camera, or Raw LCD (DSI)
- Storage: microSD
- 10/100 Ethernet (RJ45)
- BCM43143 WiFi on board
- Bluetooth Low Energy (BLE) on board
- Low-Level Peripherals:
- 27 x GPIO
- UART
- I2C bus
- SPI bus with two chip selects
- +3.3V
- +5V
- Ground
- Power Requirements: 5V @ 2.4 A via microUSB power source
- Supports Raspbian, Windows 10 IoT Core, OpenELEC, OSMC, Pidora, Arch Linux, RISC OS and More!
Documents:
Dimensions: 85mm x 56mm x 17mm
 Maximize


